Showing posts with label DIY. Show all posts

Sunday, May 08, 2011

a day in the life

Guess who's going to New York in a couple weeks?!?
THIS GIRL! 
And I am beyond stoked, 5 days in the city with just my mama and meeting up with my friend from Switzerland.. good food, good clothes, good pictures!
Ah, I'm already dreaming about what I should pack. Any suggestions?

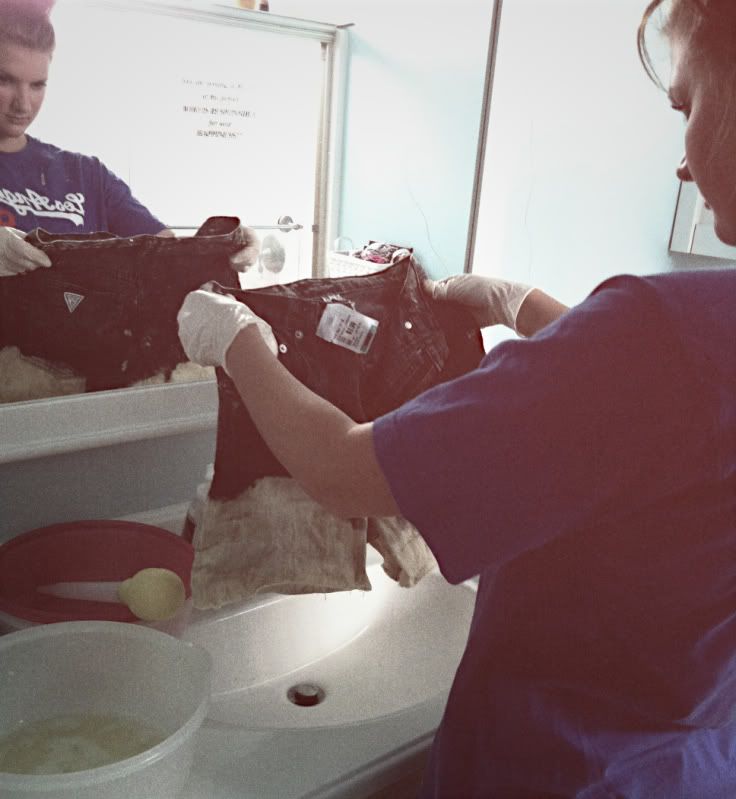
Yesterday I met up with Jenna from The Freckled Husky and had a blast.. seriously, we hit it off right away and I couldn't have asked for a better DIY partner in crime. :)

We started off our day searching through endless amounts of fabric and fringe and made our way to a thrift shop. And dude, lemme tell ya... we SCORED big time. Our carts were overflowing with old levis and vintage tees, we literally looked like hobos with the amount of stuff we had piled on top of them.


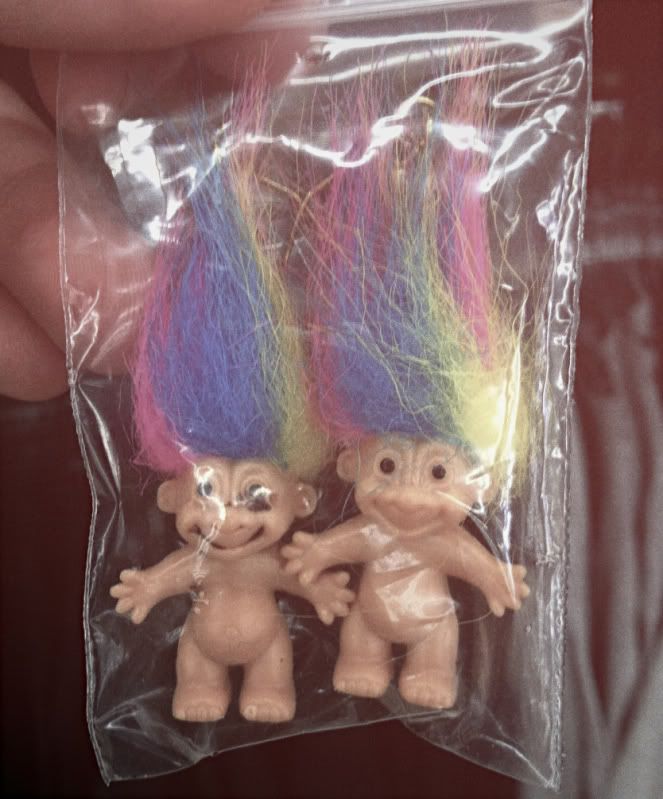
Yes... those are troll earrings. No.. unfortunately, I didn't get them. I was, however, considering wearing them with my prom dress.

Just kittttttten! 

After our thrifting adventure, we made it back to my house for some DIY projects.
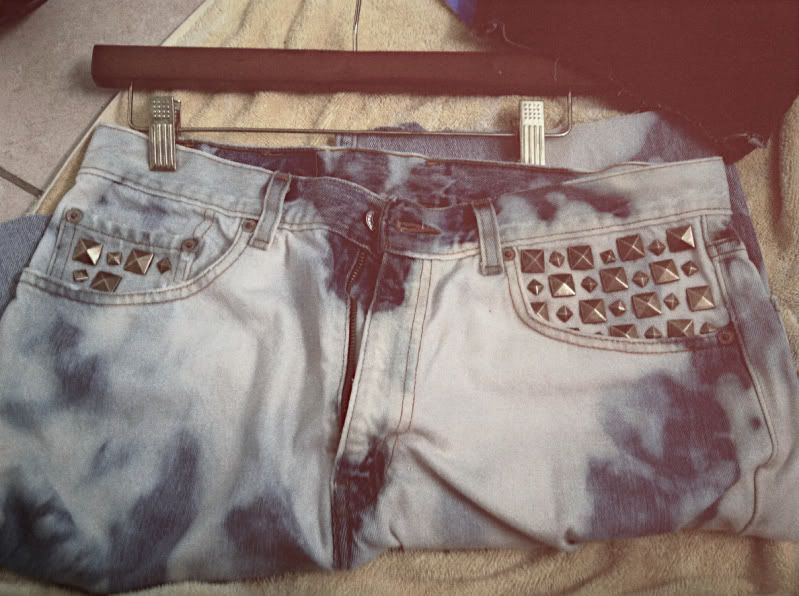
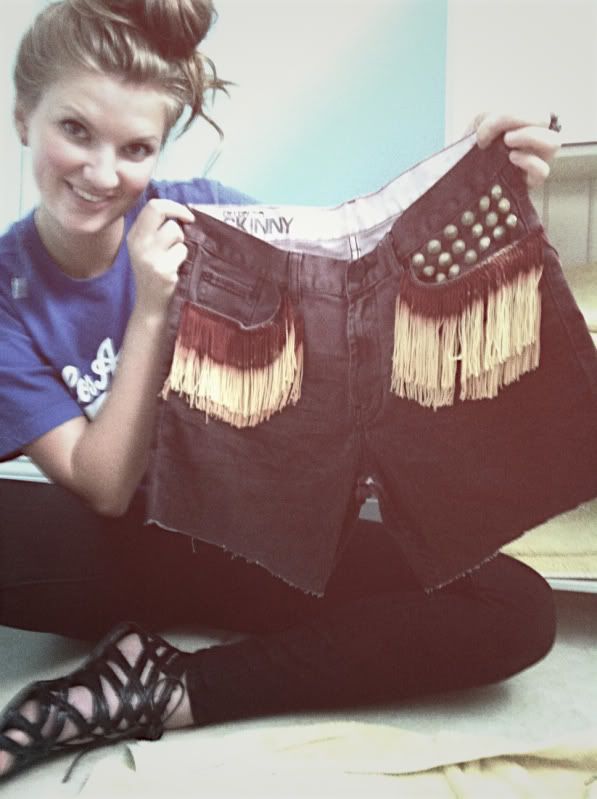
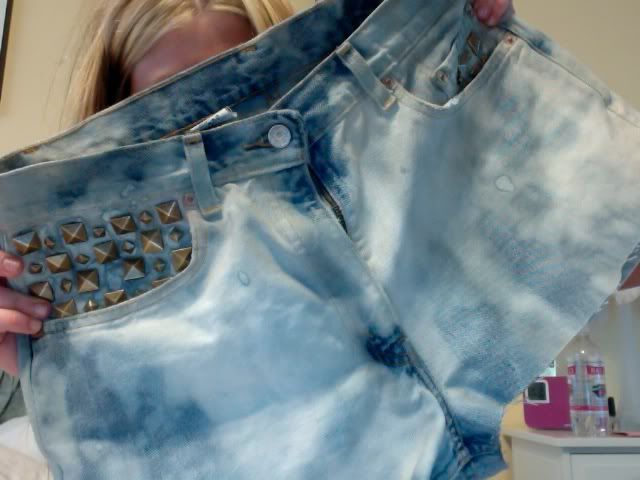
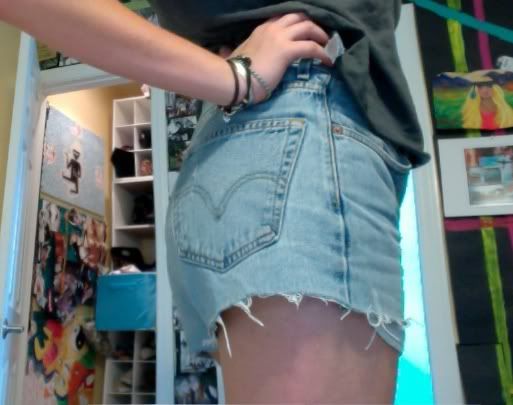
Jenna's fringe shorts turned out so rad! And I am lovin' my RunwayDreamz inspired denim shorts.


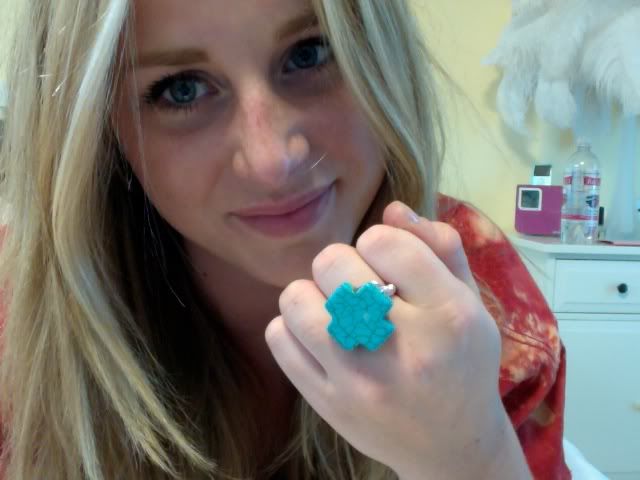
And Miss Sweet Thang gave me one of her INCREDIBLE rings! I haven't taken the thing off.. I mean, common now, it's turquoise.


Shop Jenna's rings HERE!

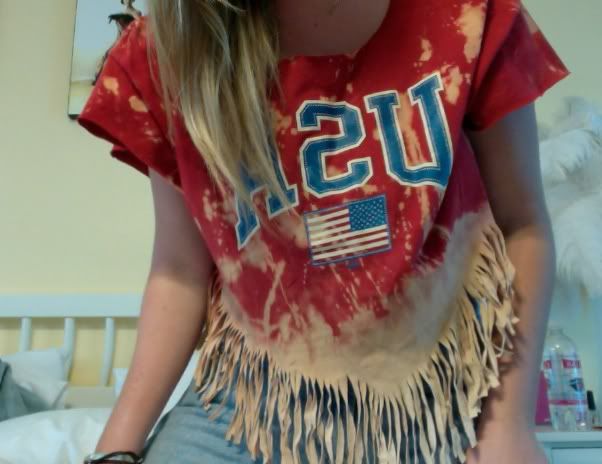
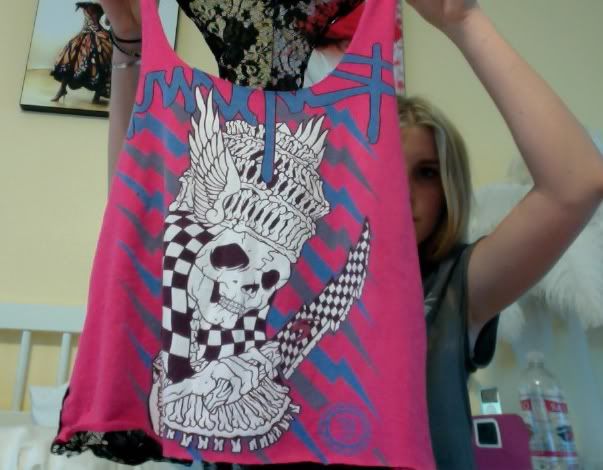
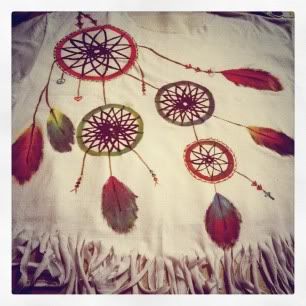
And a few more of my DIY projects from yesterday/today


And I've still got more to show ya.. ha, this is quite a heavy post, I've been off having a life, so uh yeah.. :)

PS. I got asked to Prom in the most adorable way, ever.
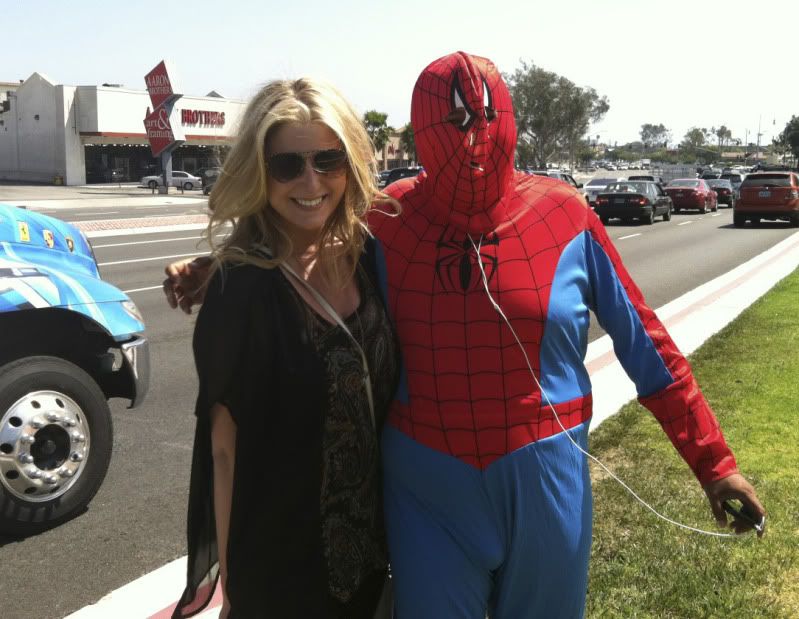
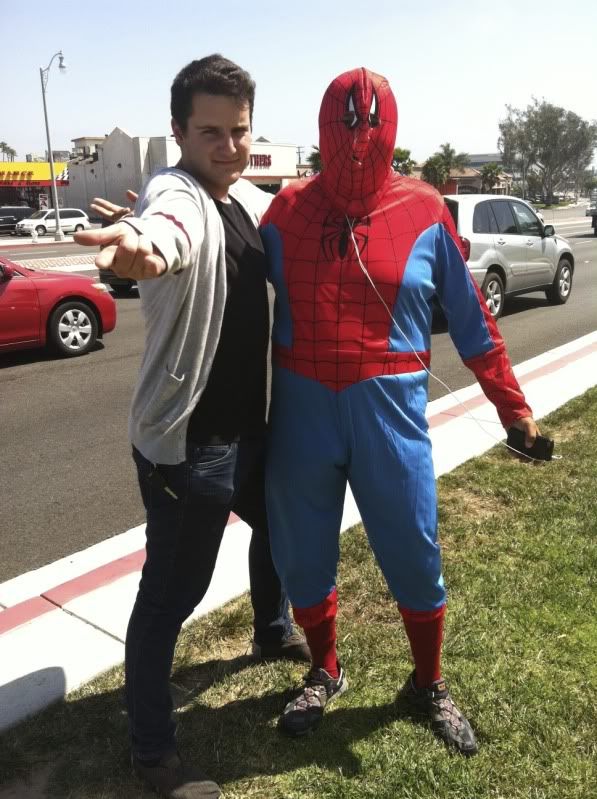
A trip to a vinyl record store in Costa Mesa (where we met Spiderman), followed by lunch at The Gypsy Den.
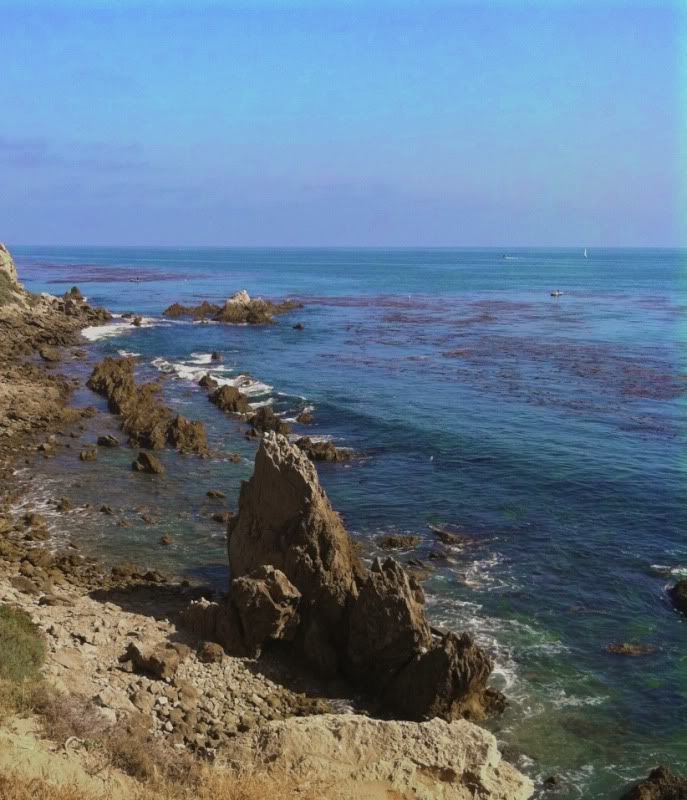
Moseyed on over to Inspiration Point on Newport Coast and was serenaded by my guitar playing boy (who is recording his demo album this summer, woo!)
Up to this quaint little movie theater where spelled out above the water fountain was "PROM?" and the lady behind the counter gave me a bunch of roses. 
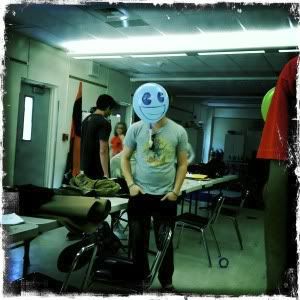
Yes, I am aware of how wrong this picture is...


It was wonderful, to say the least, and I am so EXCITED for PROM this coming weekend! 

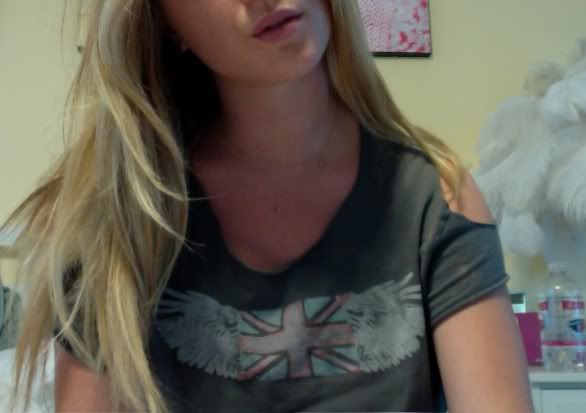
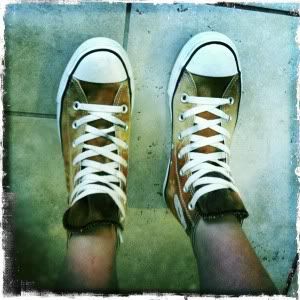
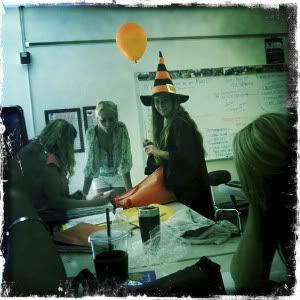
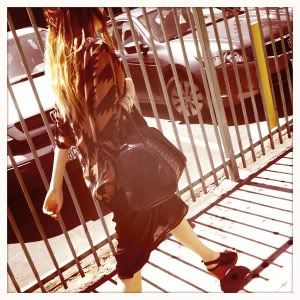
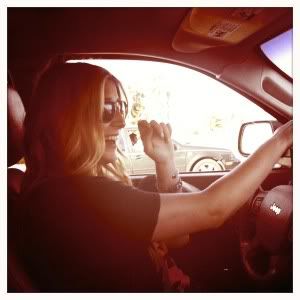
And a few randoms from the week
Justin Bieber's coming out of his pants..


In honor of mother's day I had my mama pick the giveaway winner.. 
*drum roll please*


Congrats lady, an email will be sent your way :)


Wednesday, April 20, 2011

DIY Crochet Shorts


After posting these bad boys yesterday I've had numerous e-mails/comments asking how I made them.. unfortunately I didn't take pictures while doing so, but I'll try my best to explain here!

My mother was cleaning out her closet and had an a pair of high waisted black pants with a bleach stain on the leg and was going to toss them.. but I rescued them. :)

So NUMERO UNO

1. Get a pair of shorts, preferably thrifted and high waisted.
(Mine were originally pants, so I cut/hemmed them to the desired length.)

2. Go to fabric store and get about 6 yards of crochet/lace.
(Mine's about 4-5 inches wide.. There was another crochet pattern I liked even more, but it was like $8 per yard.. NAHHH)

3. Also pick up fabric glue
(I got mine from Michael's, it was like $6 and takes between 3-4 hours to dry)
**you can sew the crochet on, but I was way too lazy to go through that much trouble and this worked just as well and it was easier to fix errors, I think.**

4. Line the crochet up to the edge of the zipper flap and around the top, EVENLY.
(This part is really easy if you've got a seam from the belt loop or something of the sort)

5. Cut this strip, making sure it will fit all the way around to the other zipper flap. Place a thin line of glue and press the crochet down. It helps to do this part in small sections, especially when you have to flip from front/back.
(I took breaks in between to allow it to dry.. otherwise parts were not holding as well when I was flipping the shorts.) 

6. Start the next row a little bit underneath the first. You can gauge how much you want them to overlap depending on your material. 
(Mine overlaps about 3/4 of a inch).

7. Continue you this all the way down until you reach the crotch area.. here it gets a bit tricky and you'll have to kind of play with the fabric to see how it best fits. 

8. Finish off with some of the crochet hanging over the edge of the shorts, let them dry for several hours and TADA!
$20 DIY shorts > $200 Planet Blue shorts


Hope that helps! If you've got any questions lemme know :)

Sunday, January 23, 2011

DIY Skull Tee Dress

Lately I've been lusting after Wildfox Couture, not really anything in particular, just ALL of it.


Unfortunately I missed the Sample Sale they had in LA and there is NO WAY I was going to pay like $80 for a simple tee, I don't care how "couture" it is, that's ridiculous. So I got a little crafty with one of my brother's plain white tees (it was brand new.. i avoided the ones he works out in, ha).

My Inspiration:


And here's how I did it (I got lazy and didn't take a picture of EVERY step, but I'll do my best to explain!)


1. Start off with a plain tee (Hanes or something like that-- I used a Large, partly because that's all my brother had, but I also wanted it to be a bit longer so I could wear it as a dress) and roughly sketch out where you want the neckline to fall (it helps if you put it on and sort of pinpoint with a marker).


2. Cut along the lines and then pin the fabric to create a nice clean edge.

3. After I did this, I decided I didn't want the sleeves as long and cut them as well.
**I hemmed the edge and had a very clean/crisp sleeve, but after trying it on I decided to cut down the middle of the hem to create a distressed/rough edge (seemed more fitting for a skull tee).

You can kind of see what I mean by the rough sleeve, I apologize for the quality of these pictures.. I was using my dinky digital camera.

And here's where I got lazy as goes for taking pictures.. 

4. The collar remaining on the back of the tee was bugging the hell out of me, so I cut it off and decided I wanted a partially open back. **Having done this before (and not being successful) I realized that if I cut a deep back and have a deep front boatneck going on, there is no way the thing would stay on.

So I cut the back, tried it on and positioned the opening to where I would want it to fall. I then marked right at the top of my shoulder blades where I should attach the next piece of fabric. And measured how long it would need to be in order for my dress to stay where I wanted it.

*Took a scrap of chunky lace/ribbon. It actually looks like a black plastic chain, woven with a gold ribbon. And attached it to a scrap of fabric that I had cut from the neckline. (this probably wasn't necessary, but the chain was a tad itchy-- so in the pictures it looks like a white piece of fabric).
I then sewed the pieces to where I had marked them (make sure you try it on before you move on, it may need a little adjustment or to be shortened).

5. I then sketched out in a fabric marker the skull design. Don't worry if it doesn't come out right the first time-- mine definitely didn't. After I got got a pretty good outline of what I wanted I attacked the shirt with fabric paint.

Okay, not attacked, but I outlined with paint where I wanted it to be and started dabbing and filling in the rest. MAKE SURE YOU HAVE PAPER/CARDBOARD OR SOMETHING UNDER THE FRONT OF YOUR SHIRT, otherwise the paint WILL soak through and it won't be pretty.

I spent a long time thinning out the paint and making sure it was a thin, even coat-- I didn't want the paint to dry and look shiny or like plastic.


6. Wash yo shirt! A little of the marker remained and I scrubbed it with Spray N' Wash-- came out perfectly. If your paint comes out too thick and plastic looking, you can go to town with Spray N' Wash and it'll give it a kind of distressed look.


*It looks really cute without the black long sleeve and tights, but it was FREEZING. Perfect for a beach cover up or everyday wear. And I didn't have to pay eighty freakin' bucks for it.
Any questions, lemme know!
--Chels